Unstable slopes are created anywhere material is being excavated or added to a landscape. With modelling and analysis, the risks to infrastructure can be mitigated. Did you know it’s possible to easily build a geological model, generate a slope stability analysis and view the stability results in Leapfrog Works with one streamlined workflow?
It’s now possible to export a 2D cross section from Leapfrog Works to GeoStudio, run a simulation, and then import results back to Works by following a simple 3 step process.
Watch the video or continue reading to find out more.
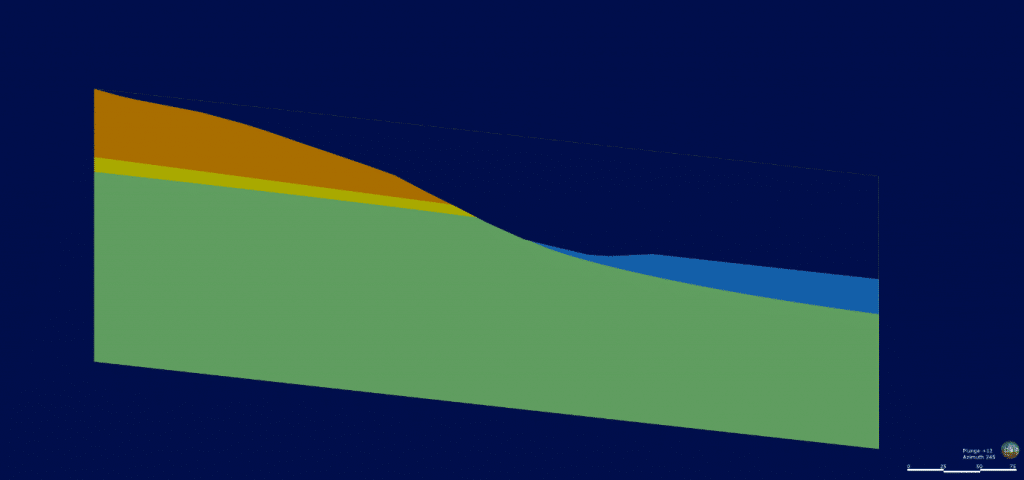
This is a 2D GeoStudio slope stability output in context of a 3D Leapfrog model:

Here we’ll take you through the simple steps to get to a point where you can visualise slope stability results in the context of the 3D model.
The interoperability is a simple three-step process:
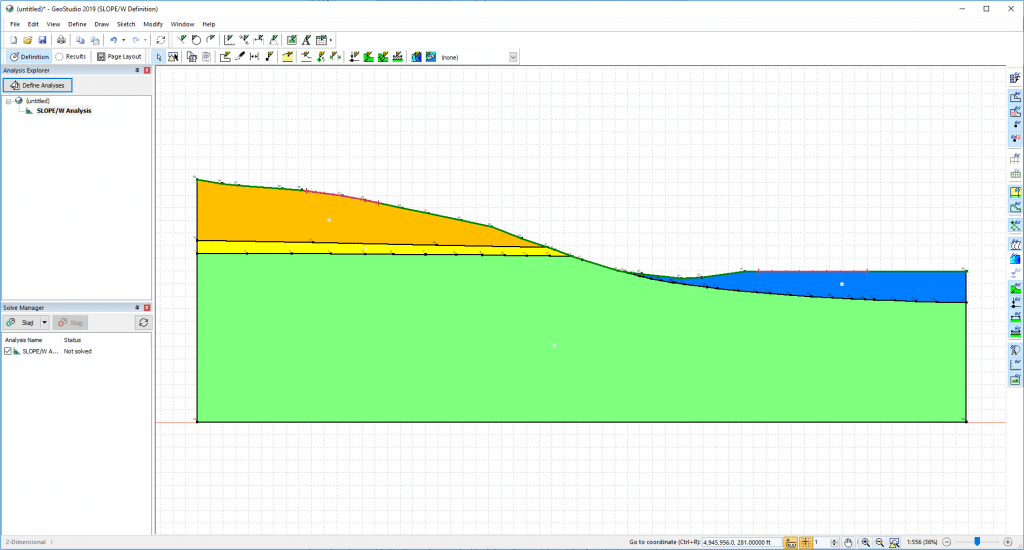
1. Export the cross section of the evaluated geological model out of Leapfrog Works and import it into GeoStudio.
The Leapfrog cross section is comprised of polygons for each of the modelled rock type, each polygon is named and coloured based on the volume’s rock type from the Geological Model.
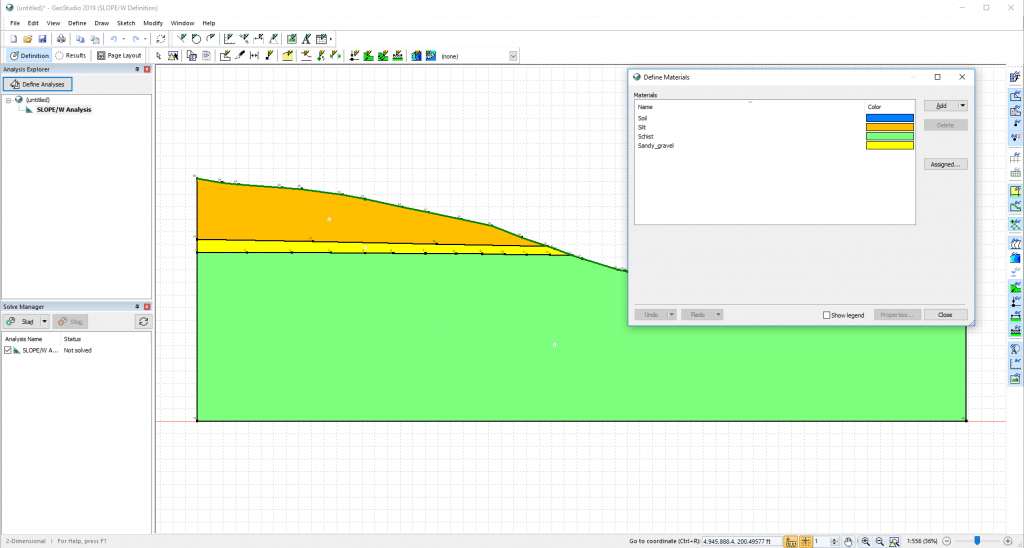
The names and colours of the Leapfrog volumes are automatically used as the material property names and colours in GeoStudio, a material is automatically generated for each Leapfrog rock type.
3. Once the simulation has finished, the final step is to export the slope stability simulation out of GeoStudio and import it into Leapfrog.
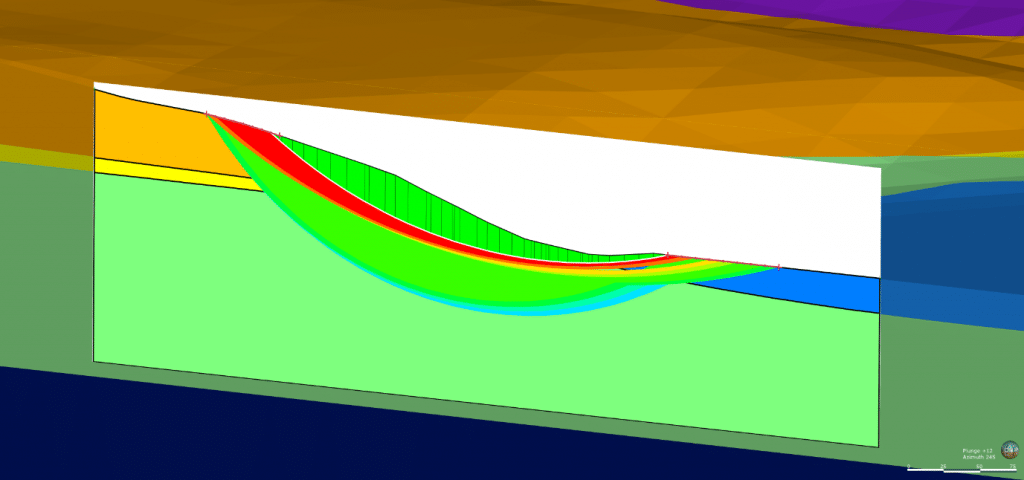
In the above example, the GeoStudio output shows 8 safety zones, the red slip surfaces have lower factor of safety values. The section is set in the context of the original 3D geological model so the modeller can easily see how the slip surfaces relate to the 3D geometry of the model.